Support & Bug Reports
Visibox has a built-in form for reaching us. It opens in two modes: a general Support Form, and a Bug Report form with fields for the details we need to reproduce a problem.
Why the built-in forms help
When you submit through the built-in windows, Visibox automatically includes system information alongside your message: your operating system, Visibox version, hardware details, audio configuration, and other diagnostic data. This saves you from having to gather and report that information yourself, and means we can start investigating right away instead of asking follow-up questions.
If you email us directly, we will almost certainly need to ask for this information before we can help. The built-in forms skip that back-and-forth.
Support Form
Open from Help > Visibox Support.
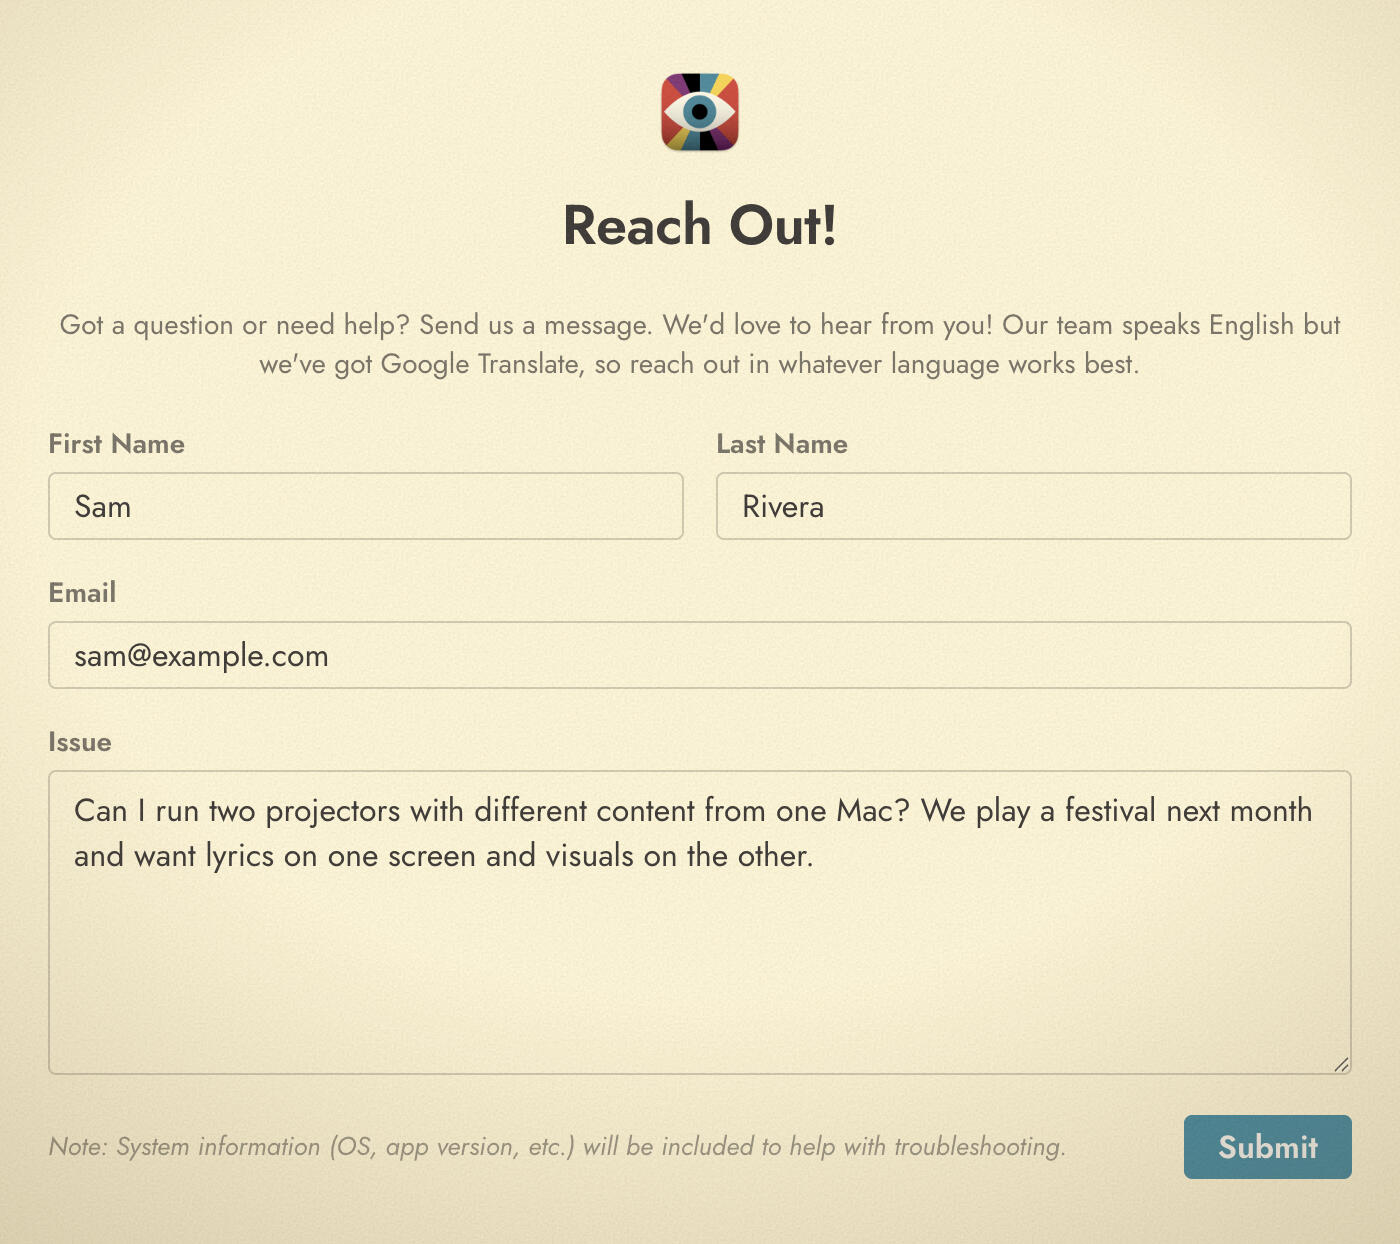
Use the Support form for questions, feature requests, or anything else you want to tell us. Fill in your name, email, and a description of your question or issue, then click Submit. Our team speaks English but we have translation tools, so feel free to write in whatever language works best.
Bug Report Form
Open from Help > Report a Bug.
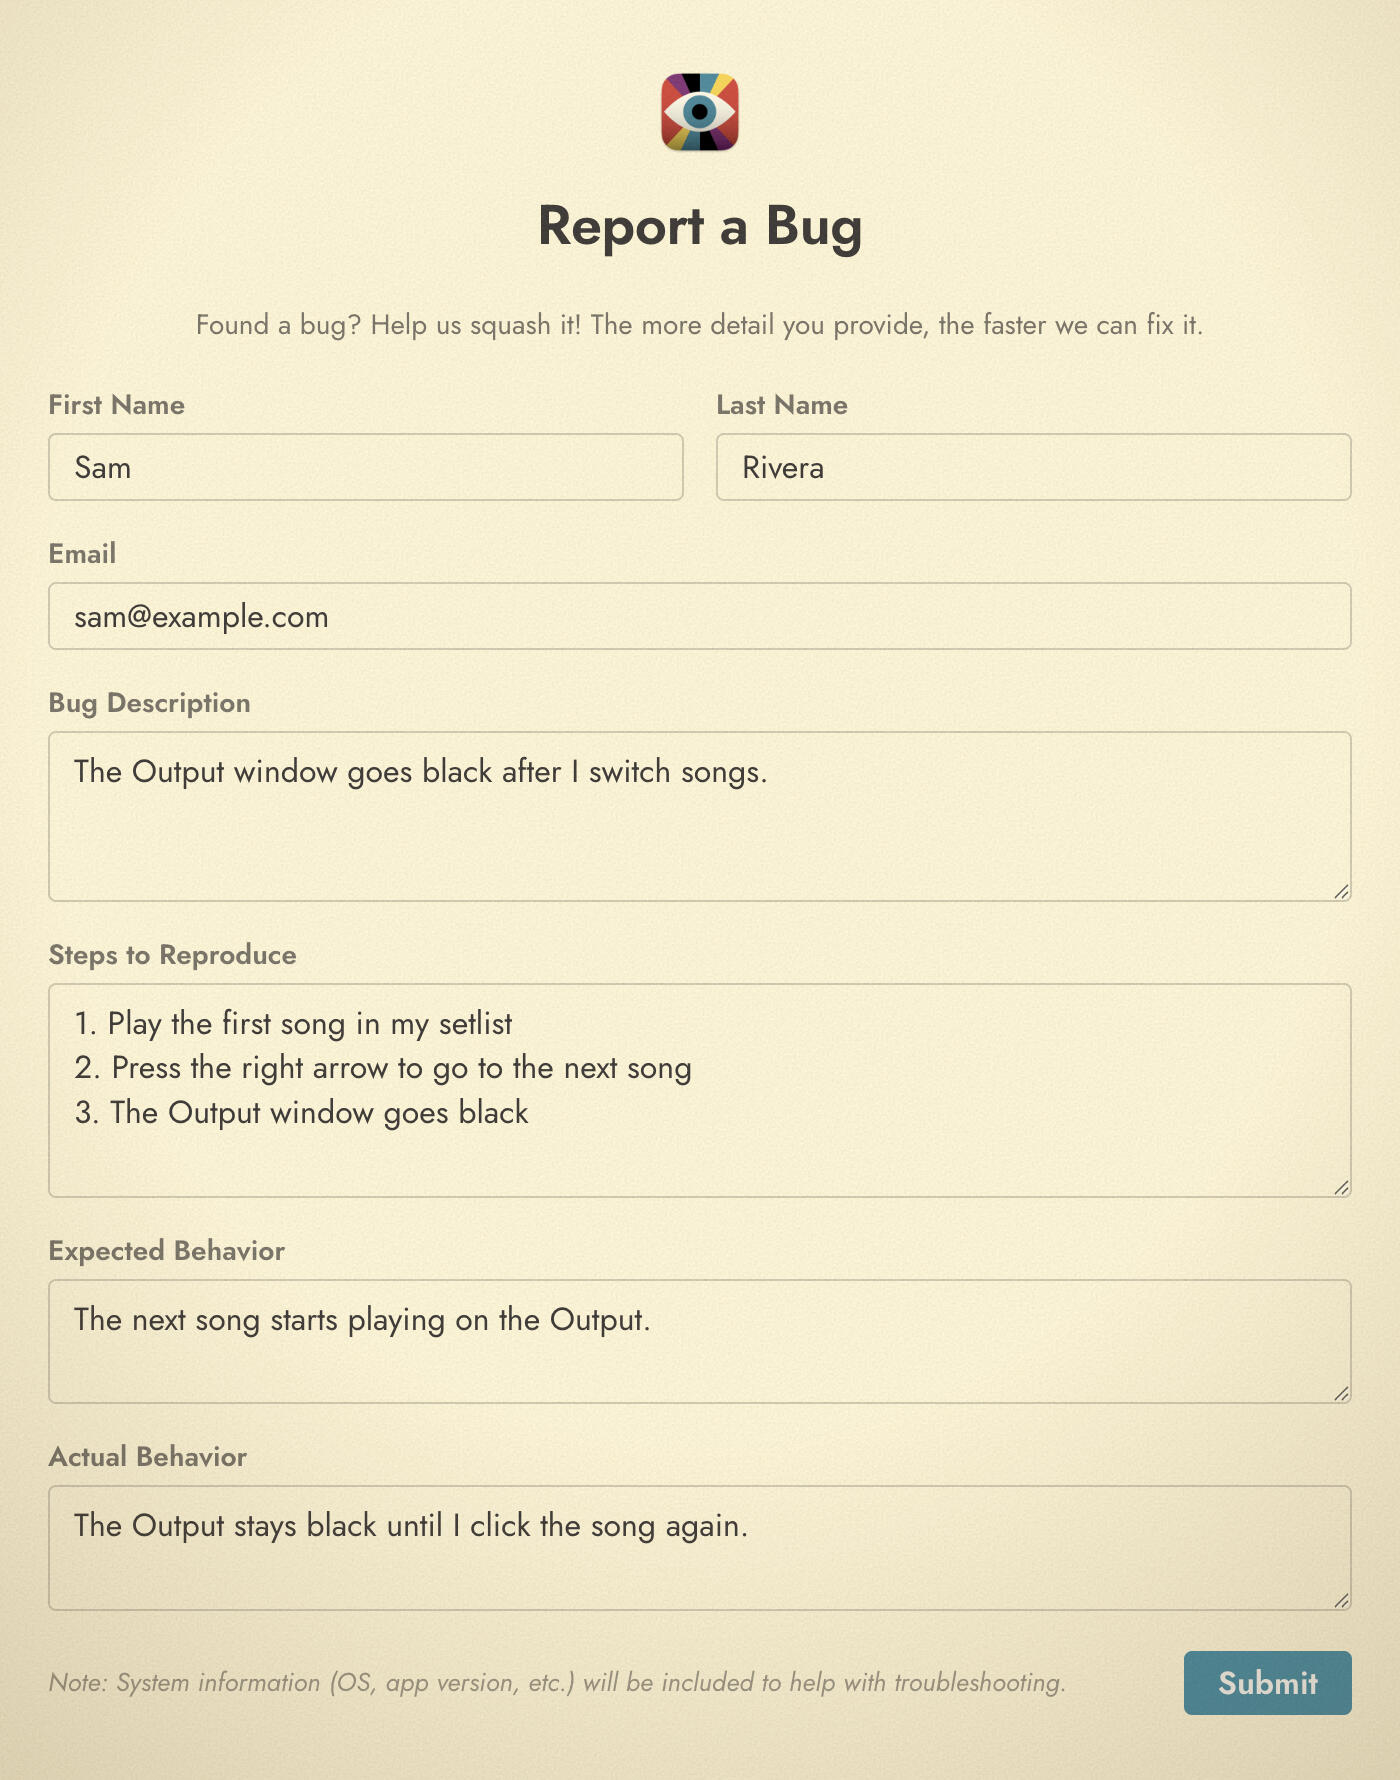
The Bug Report form captures the details we need to reproduce and fix issues:
- Bug Description: a brief summary of what went wrong.
- Steps to Reproduce: what you did that triggered the bug. The more specific, the better.
- Expected Behavior: what you thought should happen.
- Actual Behavior: what actually happened instead.
The most helpful bug reports include specific steps to reproduce. “It crashed” is hard to investigate, but “I added a Visualizer Clip, set it to System Audio, then switched to fullscreen and it crashed” gives us something to work with.
Antivirus and file indexing
The first time you open a Project, Visibox checks whether something on your computer is going to read every file it writes. Video imports and automatic saves are large and frequent, and a scanner or indexer working through them competes with playback on the machine running the show.
Visibox handles this for you and does not ask. When a Project opens, it marks the Project’s media and backup folders so Spotlight skips them. Your Project itself stays searchable, so a Project still turns up in a Spotlight search by name.
Copy Support Info
If you need to contact us outside of Visibox (for example, if Visibox will not launch), you can copy your system information to the clipboard from Help > Copy Support Info and paste it into an email.