Adding Songs
When you create a Project, it comes with one Song already in it.
The quickest way to add another is ⌘N. You can also use Project > New Song, or right-click the Controller window background and choose New Song.
To rename a Song, double-click its title and start typing. Song > Edit Song Title… does the same thing.
A “Song” is the container Visibox uses for visual Clips, because Visibox was built with musical performance in mind. If you are running something other than a band, a Song can just as easily be a scene, a service, an act, or an exhibit.
How the Song list looks
New Songs get random spaceage-flavored names. If you would rather they all arrive as “New Song”, turn on Simple Titles for New Songs under Settings > General.
Song titles are uppercase by default. Uppercase Titles in the Project Settings window (⇧⌘,) turns that off and shows titles the way you typed them.
The Song list text is deliberately big, so you can read it from across a stage. Zoom the whole Controller window with ⌘+ and ⌘-, or from the Project menu.
Rearranging Songs
Grab the handle at the top of a Song frame and drag it to a new position. The Song numbering updates as you go. If you prefer the keyboard, select a Song and use ⌘↑ and ⌘↓.
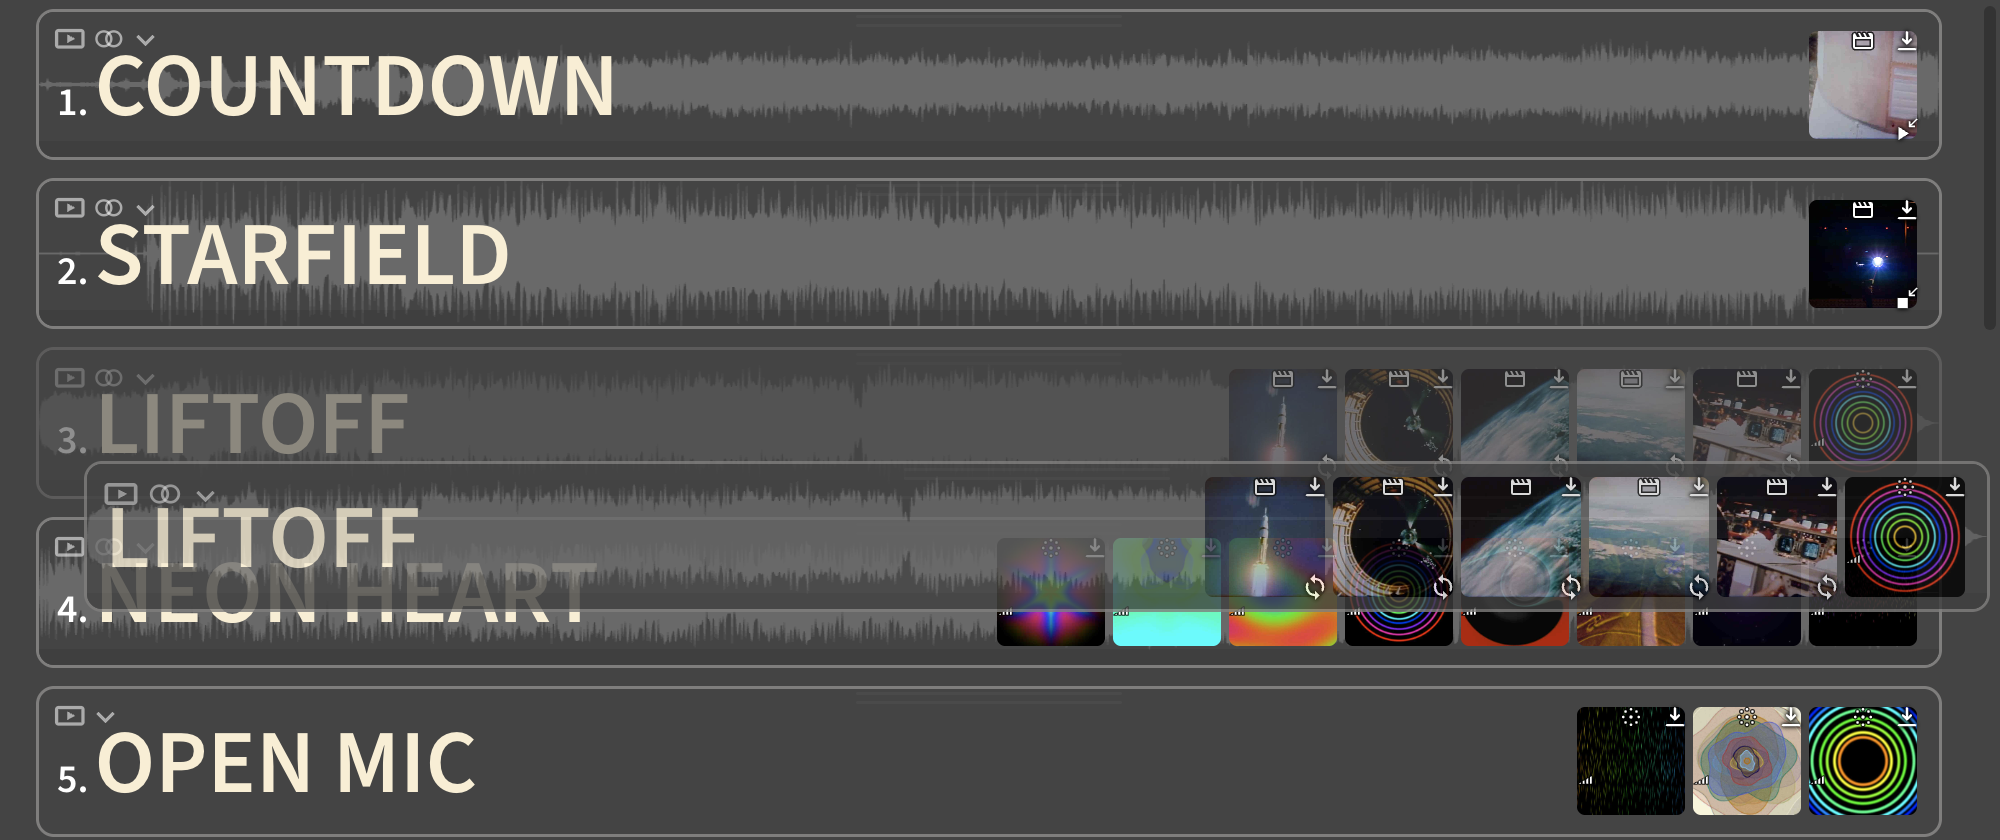
Reordering changes the running order of the active Setlist. A Project can hold several running orders at once. See Setlists.
Duplicating Songs
⌘D makes a copy of the selected Songs, along with their Clips and settings. Song > Duplicate Song does the same.
You can also hold ⌥ and drag a Song by its handle. The Song is copied to where you drop it instead of moved. The cursor changes to a copy cursor as soon as you hold the key, so you can tell which gesture you are about to make before the drag starts.
Duplicates point at the same media files as the original, so a copy costs almost no disk space.
Cutting, copying, and pasting Songs
Songs go on the clipboard like anything else.
- ⌘X cuts the selected Songs.
- ⌘C copies them.
- ⌘V pastes them into the Project.
The Edit menu names what it is about to do, so the rows read Cut Song, Copy 3 Songs, Paste 2 Songs, and so on. The same three actions are on the Song right-click menu. See the Edit Menu reference.
Paste works across Projects. Open both, copy in one, paste in the other, and the media files travel with the Songs. Large videos take a moment to copy.
You can also drag a Song by its handle straight from one Project’s Controller window into another. That copies the Song with all of its Clips and settings.
Selecting several Songs at once
Click in the empty space beside the Song handles and drag a selection rectangle across the handles you want. Selected Songs are outlined in blue.
- Hold ⇧ while you drag to add to the selection.
- Hold ⌥ while you drag to remove from it.
- Hold ⌘ (Mac) or ⌃ (Windows) and click a handle to toggle that one Song.
The list scrolls on its own when you drag past the top or bottom edge, so a long Project does not fight you.
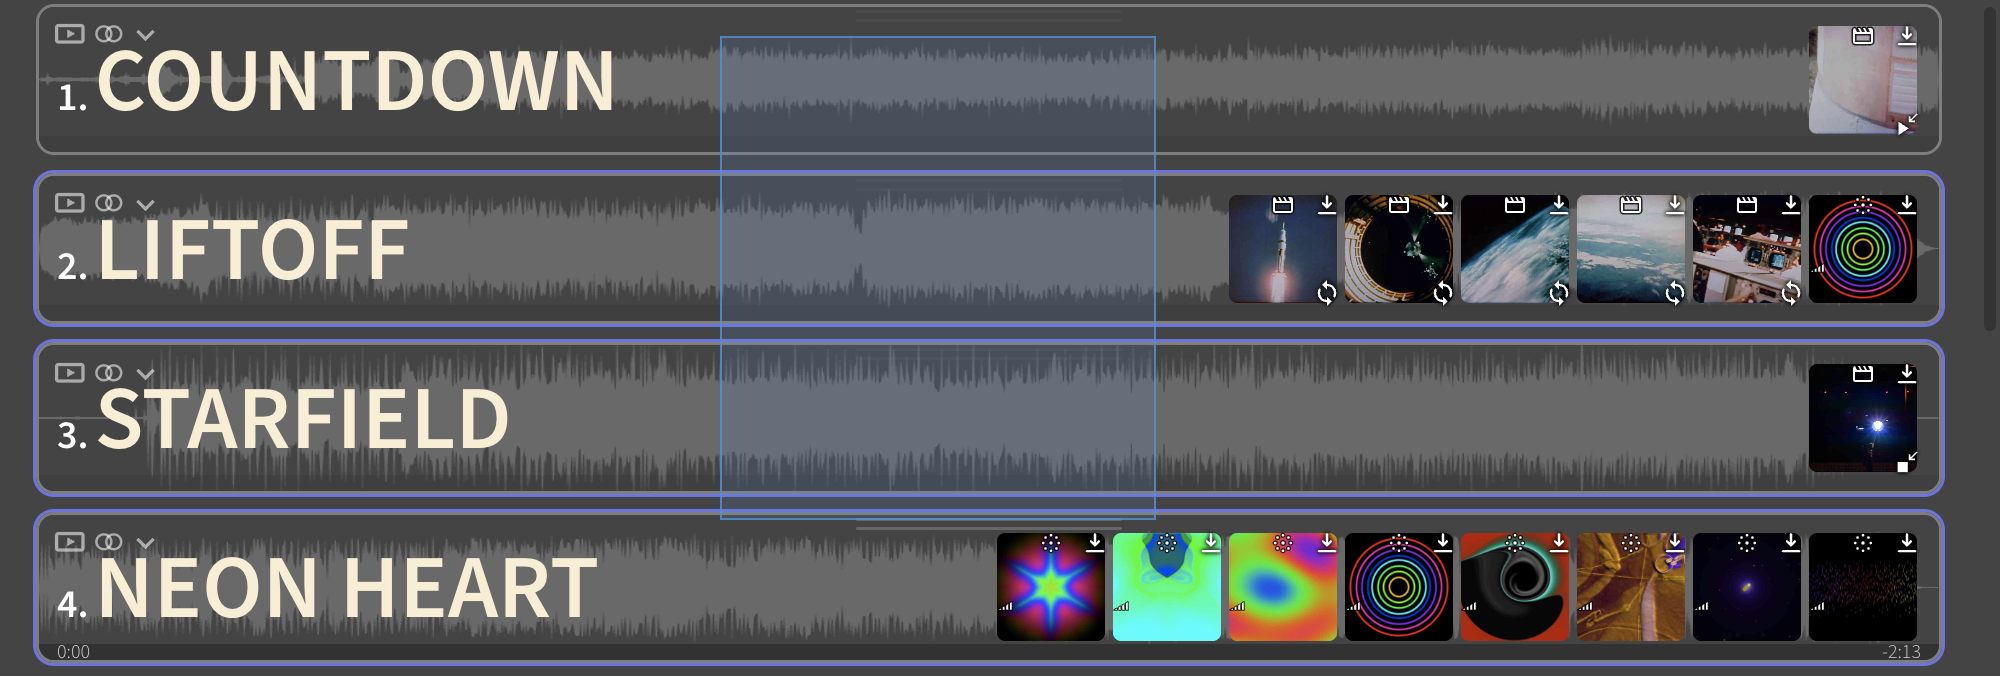
With several Songs selected you can drag, duplicate, cut, copy, and delete them together. You can also edit the options they have in common. If every selected Song has audio attached, changing the volume changes all of them. If some do not, the volume control is unavailable.
Attaching audio to a Song
You can attach an audio file to a Song as a backing track that plays under whatever Clip is running. These formats play natively:
- MP3 (mp3)
- AAC (aac, m4a)
- WAV (wav)
- AIFF (aif, aiff)
- FLAC (flac)
- Ogg (ogg, oga)
- Opus (opus)
Anything else, Visibox tries to convert to a native format on import. If it cannot, it tells you.
You are most likely playing the song itself, so attached audio is for something extra. You do not need to attach a recording of the music you are about to perform.
To attach a track, right-click the Song and choose Attach Audio…, or use ⇧⌘U. Once a Song has audio, that row reads Replace Audio… instead, and Remove Audio… becomes available.
A Song can hold one audio track. If your videos have their own audio, the Clip audio and the backing track both play.
Attached track, or Audio Clip
An audio file can be either. A Song has one attached track, playing under everything; it can hold any number of Audio Clips, each triggered on its own. Attach the track you are playing along to, and use Clips for the stingers, effects and beds you fire by hand.
Because both are right answers, dropping a single audio file on a Song asks which you meant:
- Attach to Song makes it the backing track.
- Create Audio Clip makes it a Clip.
- Cancel does nothing.
Song > Add Audio Clip… never asks. It always makes Clips, and takes several files at once.
Dropping several audio files at once never asks either. Visibox offers to combine them as one multichannel backing track instead.

While the audio plays, the Song frame shows its waveform, a progress bar with elapsed and remaining timers, and a green level meter down the left edge. A meter on the Song means the sound is coming from the backing track rather than from a Clip. See Audio Metering.
Drag the seek bar below the waveform to scrub to any point in the track.
Mute, volume, and what happens when the track ends are all in the Song Editor Panel. Right-click the Song and choose Edit Song…. See Song Editor Panel.