Project Settings
Project Settings holds the handful of settings that belong to one Project rather than to the app. Open it with Project > Project Settings… (⇧⌘,).
Everything about how the Output itself looks (its size, rotation, flip, enforced shape, rounded corners and multi-display layout) is app-wide and lives in the Settings window instead. See Output Settings and Canvas Settings.
Choosing which Project you are editing
With one Project open, the window edits that Project and names it across the top.
With several Projects open, a picker appears there instead. Follow active Project keeps the window pointed at whichever Project you are working in, so bringing a different Controller window forward re-points Project Settings with it. Turn it off to pin the window to one Project and pick that Project by hand.
General
| Setting | What it does |
|---|---|
| Project Title | The name shown for the Project in Visibox. Leave it blank to use the Project folder’s own name. |
| Uppercase Titles | Shows Song and Clip titles in the Controller in uppercase. Turn it off to see titles exactly as you typed them. |
Display
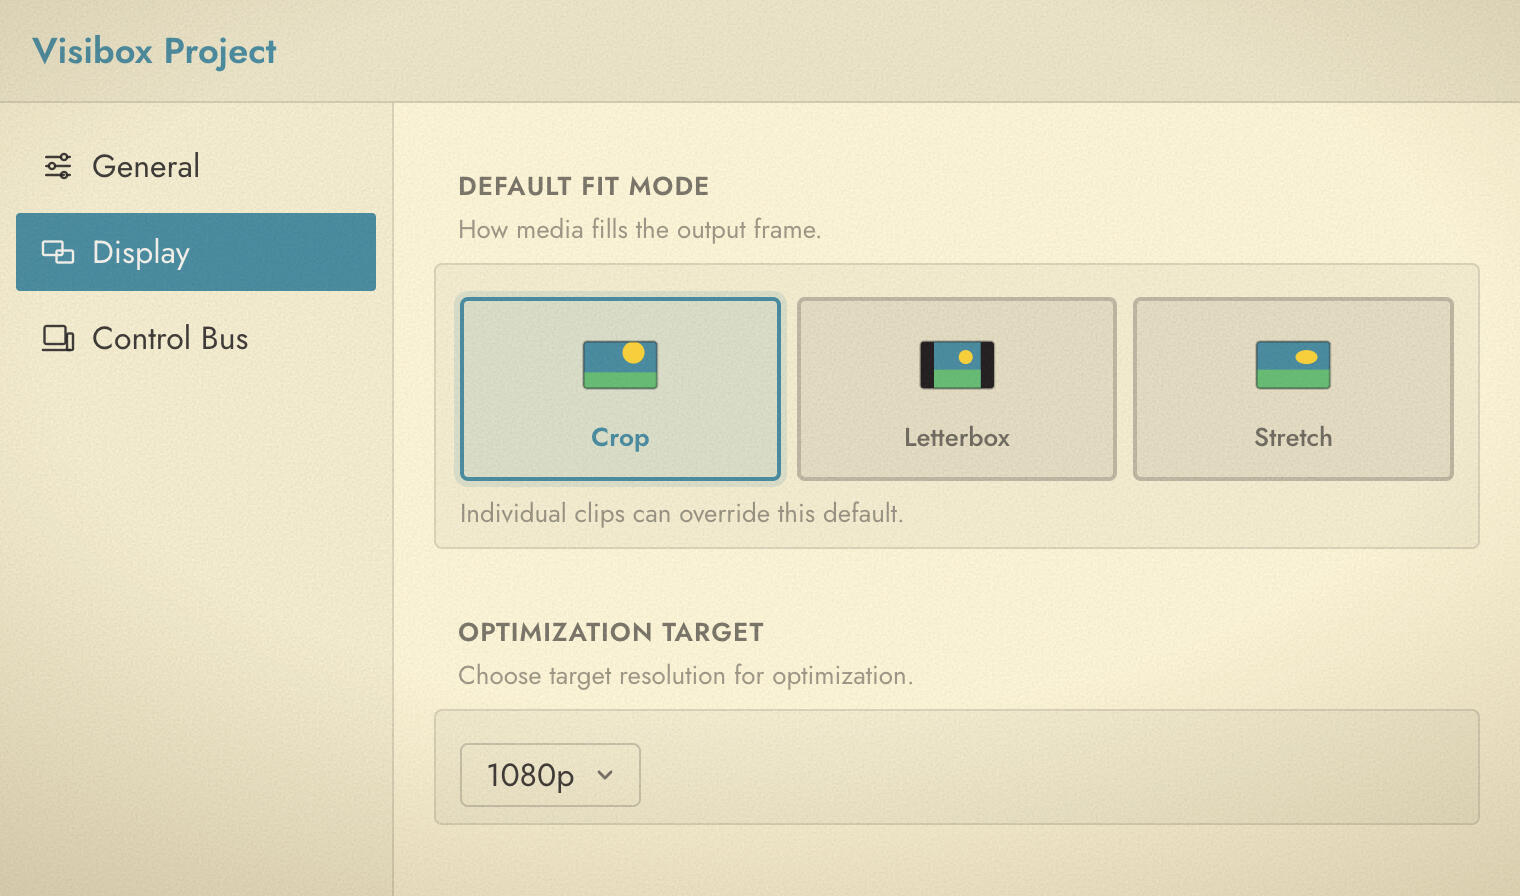
Default Fit Mode decides how media fills the Output frame for every Clip in the Project that has not been given its own answer.
| Mode | What it does |
|---|---|
| Crop | Fills the frame edge to edge, cropping whatever does not fit. This is the default. |
| Letterbox | Shows the whole Clip, adding bars to make up the difference in shape. |
| Stretch | Fills the frame completely by distorting the Clip to match it. |
Individual Clips can override the default from the Clip editor’s own Fit Mode row.
Control Bus
The Control Bus category is where a Project’s named Controls are defined and bound to the Clip and Effect parameters they drive. Every Project starts with eight, lettered A to H, and you can add more. It is documented on the Real-Time Control page rather than here, because the setup only makes sense alongside the controls it feeds.