Output, Canvas, and Displays
Visibox paints one picture and then hands out pieces of it. That picture is the output canvas. A projector, a second projector, an NDI stream, a DeckLink card and a screen recorder can each take the whole canvas or a rectangle of it, at the same time.
This page covers what the canvas is and how to send it places. The controls themselves live in two Settings tabs: Output Settings for the shape of the picture and Canvas Settings for where it goes.
The output canvas
Each destination you turn on is an output target. A target is a physical display, an NDI output, a DeckLink output, Syphon or Spout, or the recording capture region.
Every enabled target holds a rectangle on a single shared canvas, laid out in the arranger in Settings > Canvas. The canvas is the bounding box of all those rectangles. Visibox draws the whole canvas once, and each target shows the slice its rectangle covers.
Two rectangles on the same spot show the same content. Two rectangles side by side show two halves of a wider picture. That is the whole model.
The canvas cares about a screen’s size, not its pixel count. A high-density (Retina or HiDPI) screen takes up the same room on the canvas as a standard screen of the same physical size.
Sending output to more than one display
- Connect the displays and open Settings > Canvas. Window > Arrange Displays… opens the same tab.
- Displays that are not carrying output sit in the Unused tray. Drag one onto the canvas to turn it on.
- Drag its rectangle to say what part of the picture it shows.
- Select a rectangle to open the Transform panel and set Position, Width and Height, Scale, Rotation and flip.
Click Identify Displays at any time to flash a number on every connected screen.
One display can be the Controller display, and one can be the Lyrics display. A display doing either of those jobs is not an output, and no display can do two of the three at once. Set which is which from the display’s Role in Canvas Settings.
Video walls
A hardware video wall controller takes one signal and splits it across a grid of panels, then shows each panel its tile full screen. When the grid is not square, the wall’s overall shape does not match the signal’s, so the picture arrives stretched. A 1 × 3 wall spreads a 16:9 frame across a 48:9 surface, and everything on it is three times too wide.
Video Wall Controller Compensation pre-distorts the feed by the inverse amount so it lands correctly. Select the display feeding the controller in Settings > Canvas, then set Rows and Columns to match the panel grid. Two projectors side by side is 1 row by 2 columns. Four televisions stacked is 4 rows by 1 column.
Rows and columns each go from 1 to 16, and 1 × 1 means no wall. The compensation depends only on the ratio between rows and columns, so the panel count costs nothing.
The setting is per display. A rig with one walled projector and one plain confidence monitor gets compensation on the projector only.
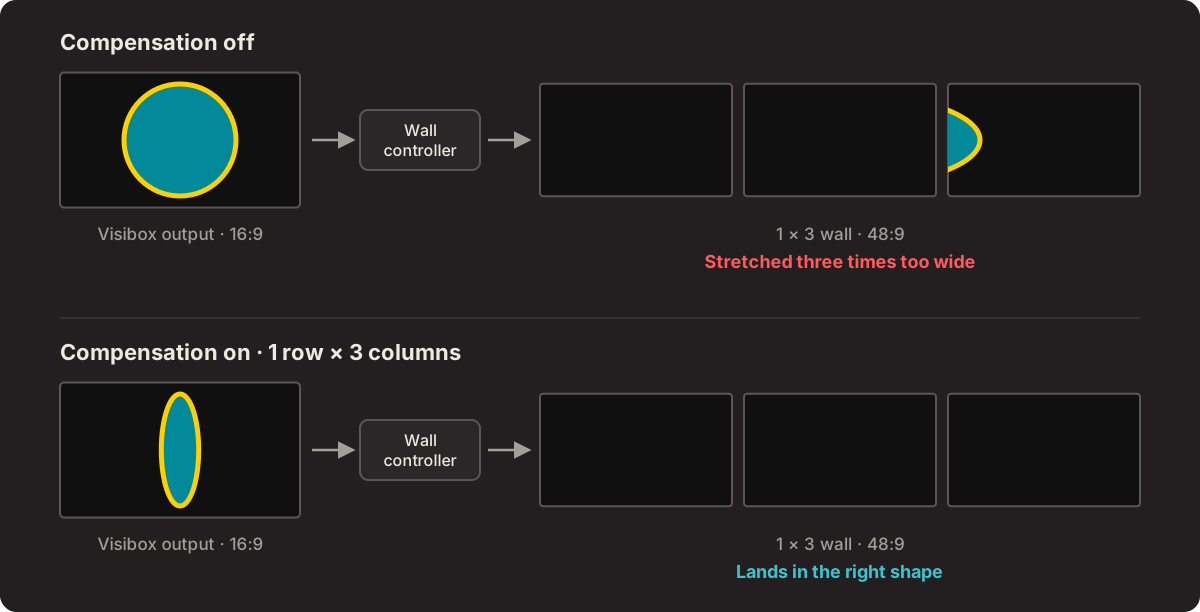
Compensation assumes the panels have the same shape as the signal feeding them, which covers a 16:9 output driving 16:9 panels. A wall built from panels of a different shape needs the wall controller’s own correction instead.
NDI output
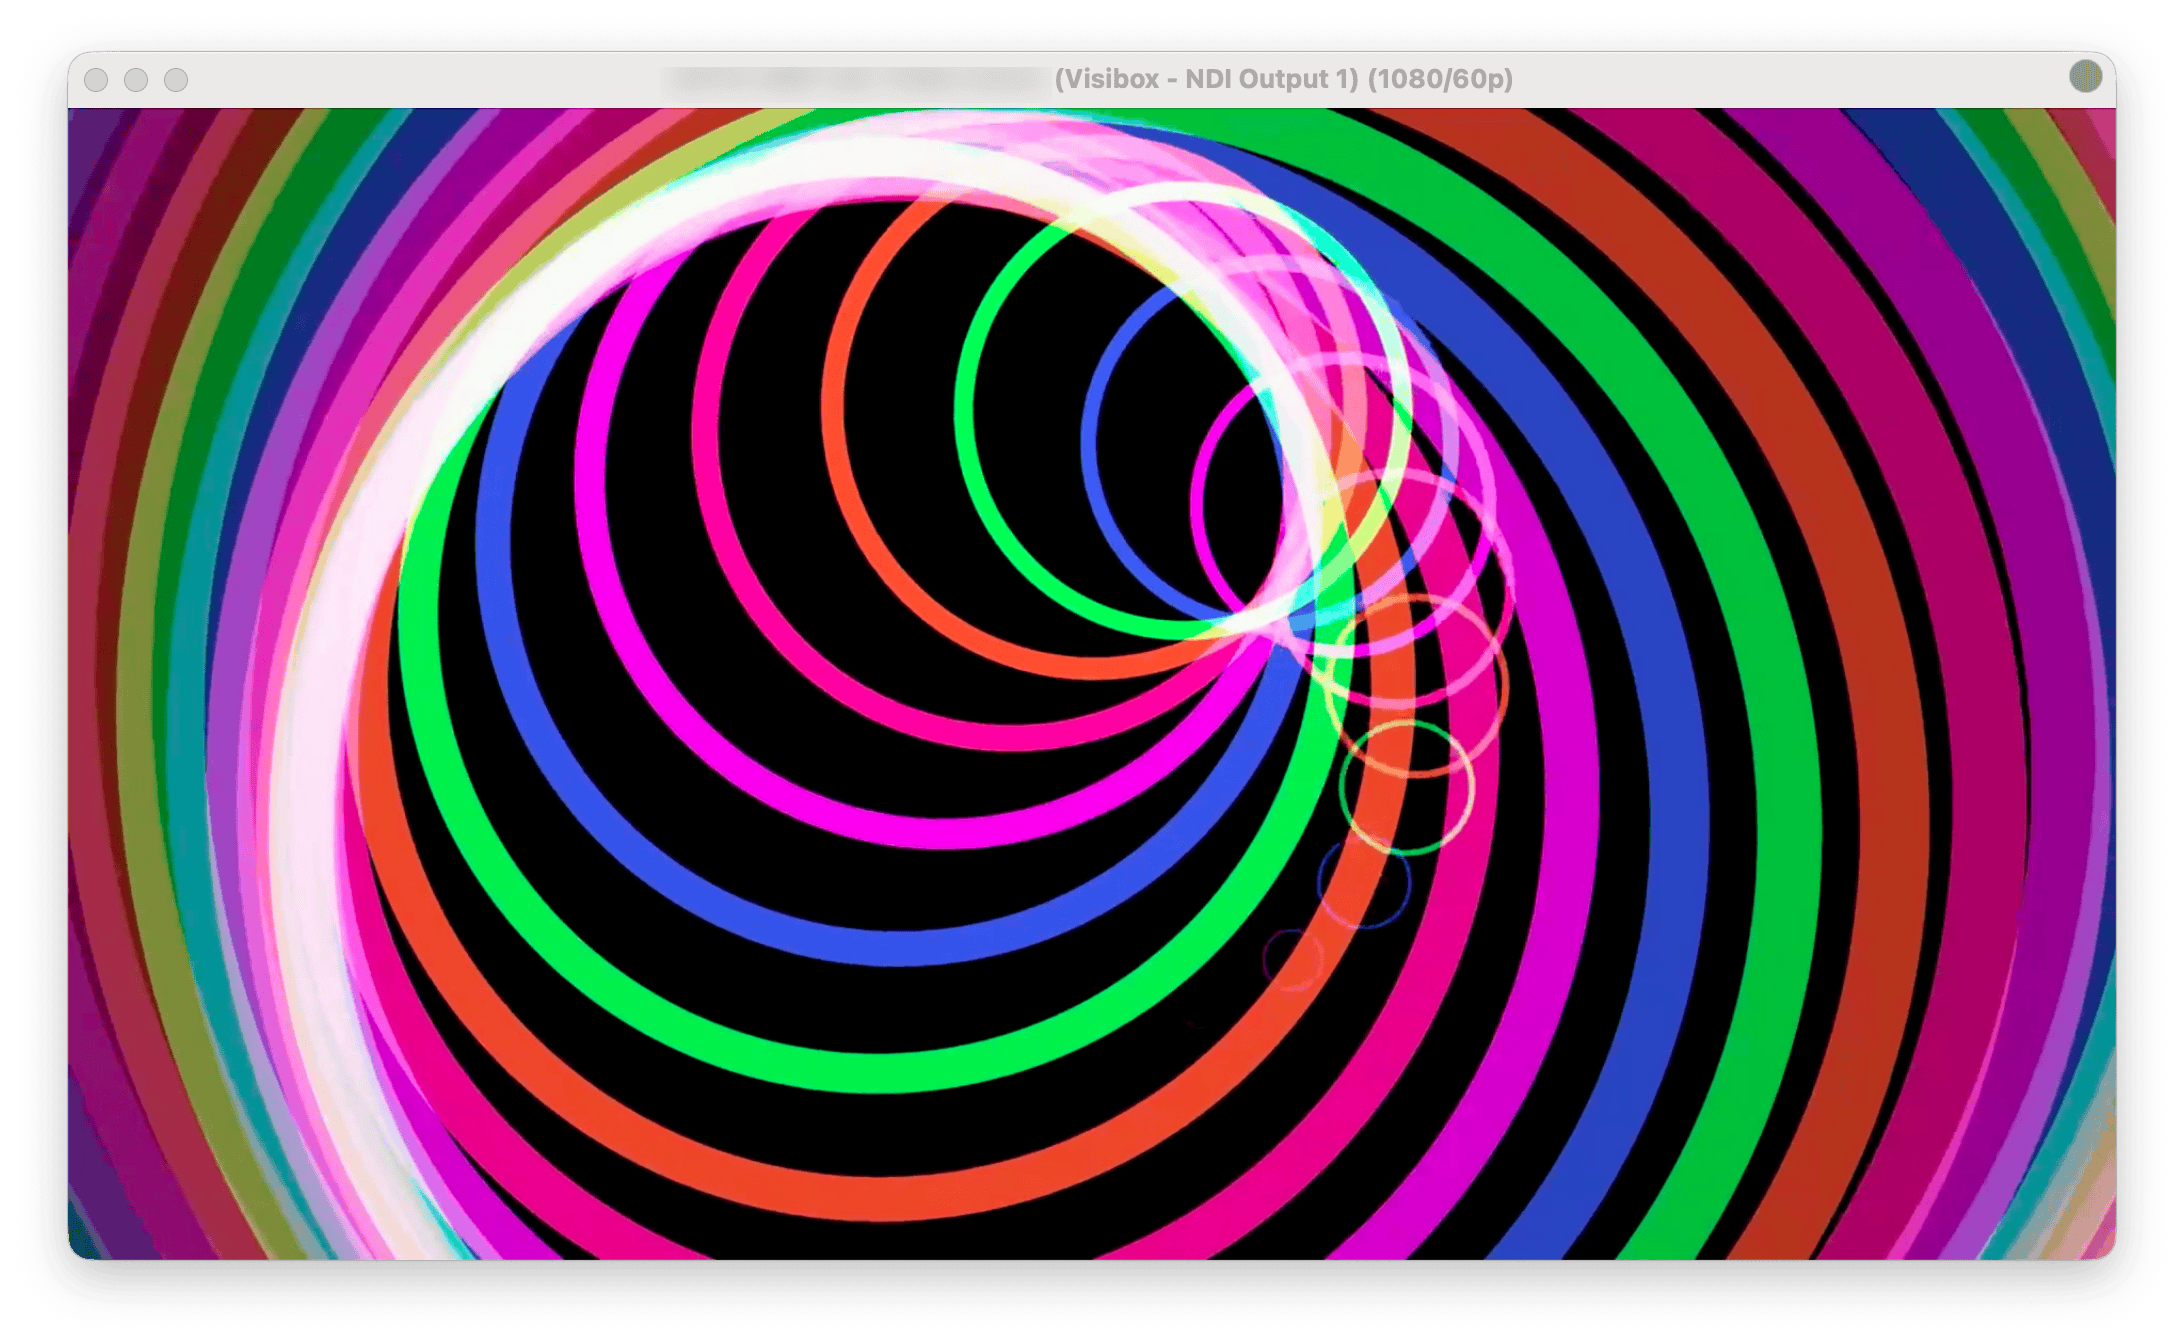
NDI sends video over the network, so a receiving machine on the same network can take the picture without a cable. Add one with Add NDI Output in Settings > Canvas. Turn on Settings > General > Enable Beta Features to see this.
Each NDI output behaves like any other target. It gets a rectangle on the canvas, so you choose whether it carries the whole picture or one slice of it. In the Transform panel you can rename it, set its Width and Height, and remove it. The name is what receivers see in their source list. The Output master audio mix travels with the video.
DeckLink output (SDI)
A DeckLink output plays out over SDI through a Blackmagic DeckLink card. Add DeckLink Output in Settings > Canvas needs Blackmagic Desktop Video installed and a DeckLink device connected. With more than one device connected, a picker beside the button chooses which card the new output plays out on. Turn on Settings > General > Enable Beta Features to see this.
A DeckLink output takes a rectangle on the canvas like any other target. Select it to set its Video Standard, the device’s own display mode. New outputs start on the card’s first 1080p mode. The panel names the device the output belongs to, and says so when that device is not currently connected. The Output master audio mix is carried on the SDI stream.
Syphon and Spout
Syphon Output in Settings > Output shares the live output as a Syphon source, so other macOS applications such as OBS and Resolume can receive it with no cable. Turn on Settings > General > Enable Beta Features to see this.
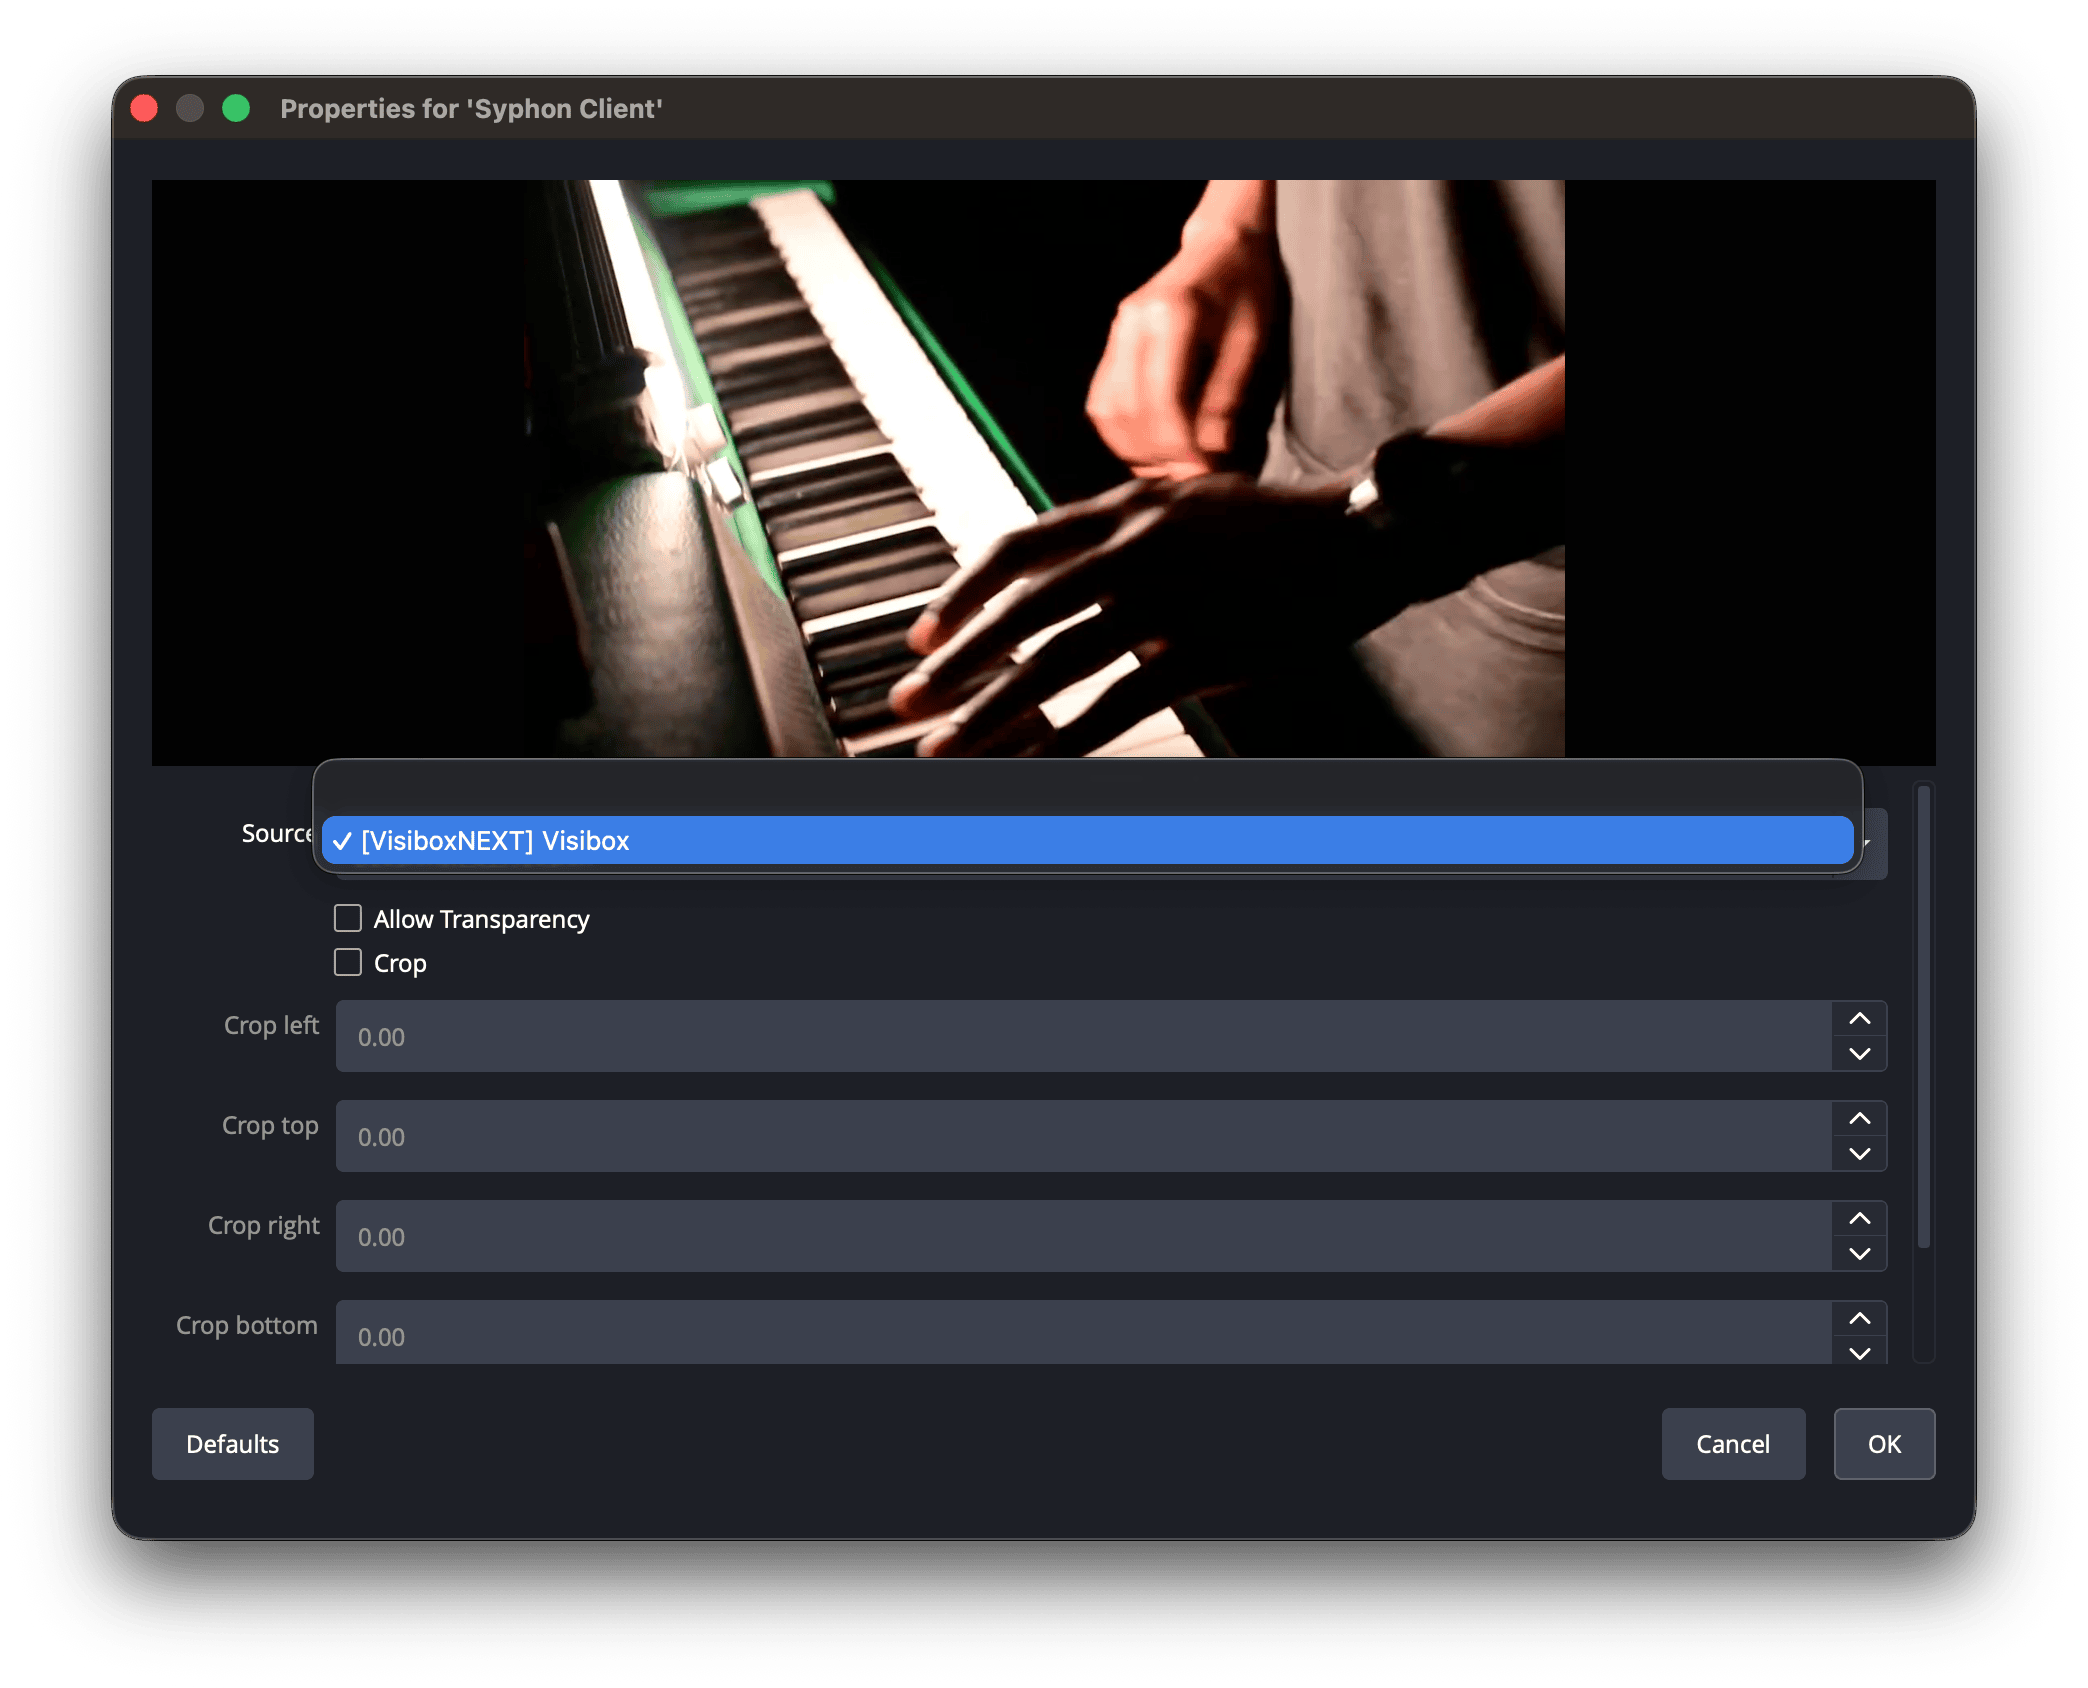
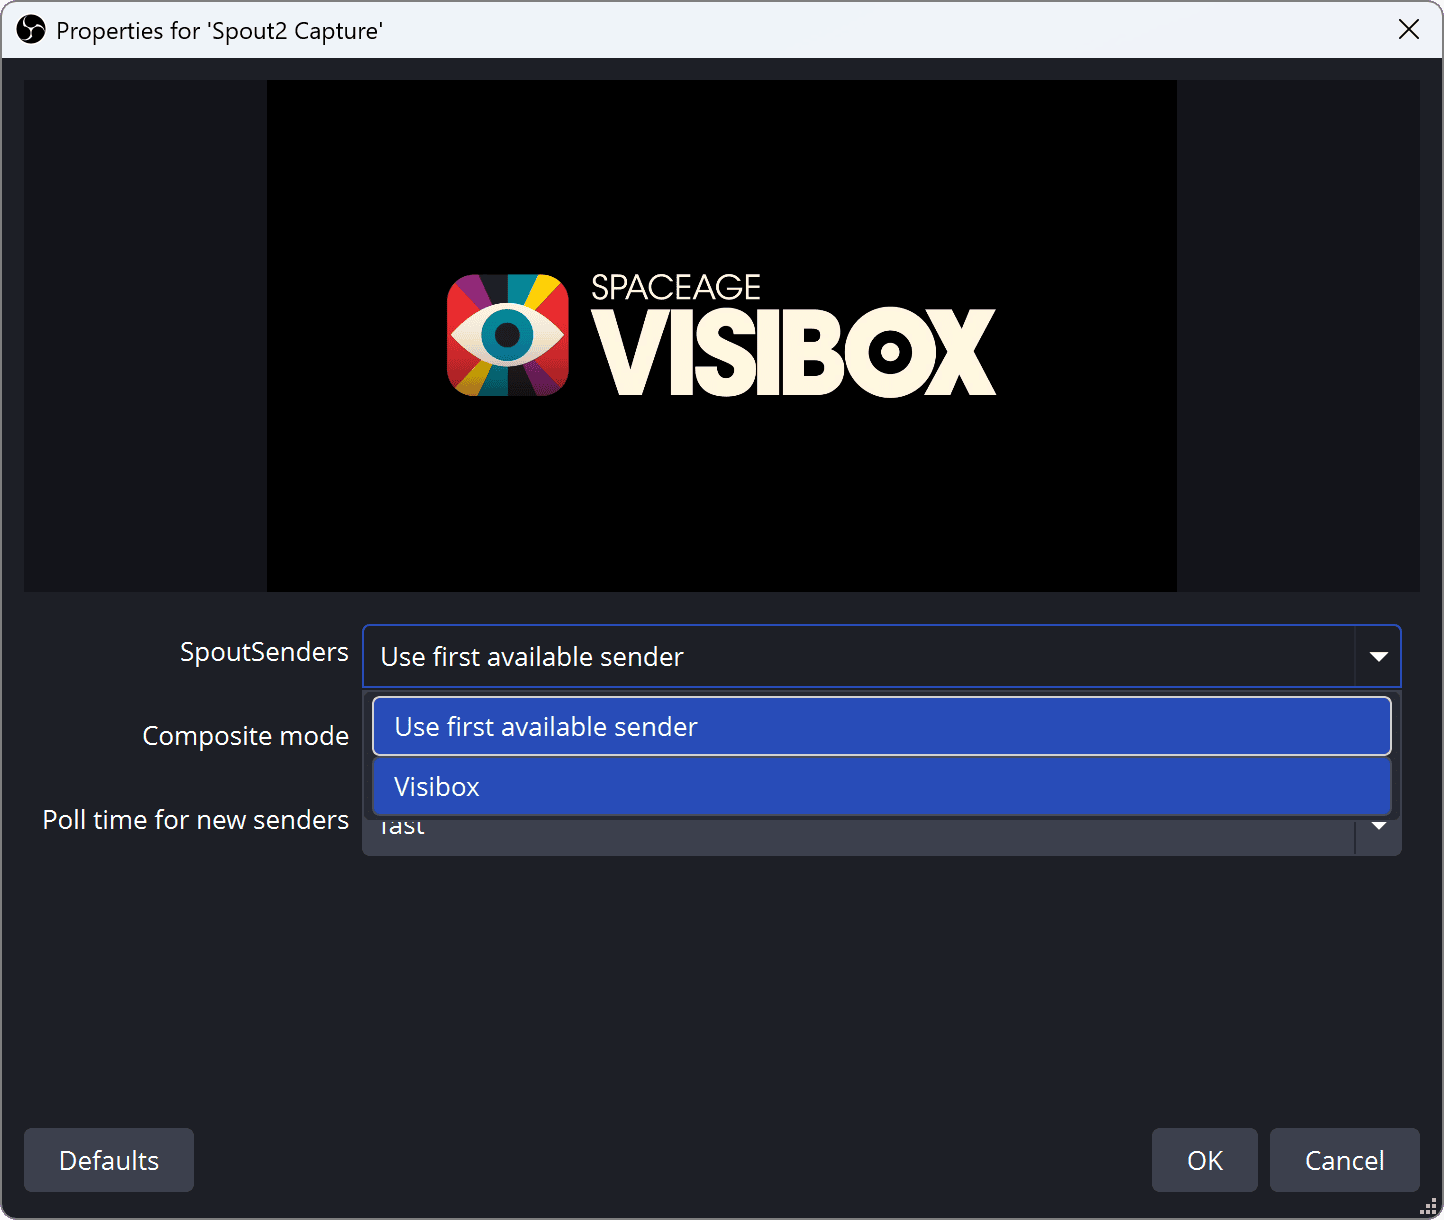
Once the switch is on, the share also appears as its own rectangle in the arranger. Place the rectangle over part of the canvas to hand over a slice, or set its Mirror to Full canvas to hand over the whole show whatever shape the rectangle is.
The shape of the picture
Rotation, flip, an enforced content aspect ratio and rounded corners are in Output Settings. They shape the picture itself, before any of the targets on this page get hold of it, rather than dressing up one destination. Rotation and flip wait for full screen. Only Rotate/Flip/Stretch in Full Screen is on by default, so you will not see either of them in a window until you turn it off.
Output Window Size and Output Window Shape sit on the same tab and are the exception. They set how large the Output window is on screen and change nothing about the picture. That is why a small window no longer starves a recording or a stream of the pixels it asked for.
Undoing output changes
Anything you change on the Output and Canvas tabs can be taken back. Press ⌘Z while the tab is showing, or use Edit > Undo, and the Edit menu names the step it is about to reverse. Each tab keeps its own steps, and they last only while the Settings window is open.
Recording the output
Visibox can record what the audience sees, with the master audio mix, to a video file.

Click Record in the Control Bar and choose:
- Start Recording Now begins immediately.
- Start Recording on Next Trigger waits, then begins the moment the next Clip starts playing. Use this to start a take on the downbeat instead of a few seconds before it.
While armed, clicking Record again cancels. While recording, clicking Record again stops. The Play menu’s Recording section offers whichever of those applies right now, always on ⌥⌘R.
When you stop, Visibox asks where to save. The default location is your Videos folder. Files are H.264 in an MP4 container where the machine supports it, and VP8 in a WebM container otherwise. If you cancel the save dialog the take is not thrown away: it stays in a temporary file, and Visibox logs where.
By default a recording captures the whole canvas. To record part of it instead, turn on the Recording Capture Region in Settings > Canvas and place its rectangle over the part you want.
The region starts turned off, so the first time you record, Visibox asks Record the whole canvas? and tells you the size it would use. You can:
- Record Full Canvas and get on with the take.
- Set Up Capture Region…, which cancels this recording and opens the arranger with the region already switched on and snapped to the canvas, ready to place.
- Cancel, and nothing is recorded.
The prompt carries a Don’t ask again box, which applies only to Record Full Canvas. To bring the prompt back, turn on Ask before recording without a capture region in Settings > Canvas.
With a region set up, Recording Size on the Transform panel picks the resolution of the file, and Match Canvas snaps the region to cover the whole canvas.