Settings
The Settings window is the central place to configure Visibox. Open it from:
- Mac: Visibox > Settings
- Windows: File > Settings
- Or use the keyboard shortcut.
The Settings window is divided into sections, accessible from the sidebar on the left.
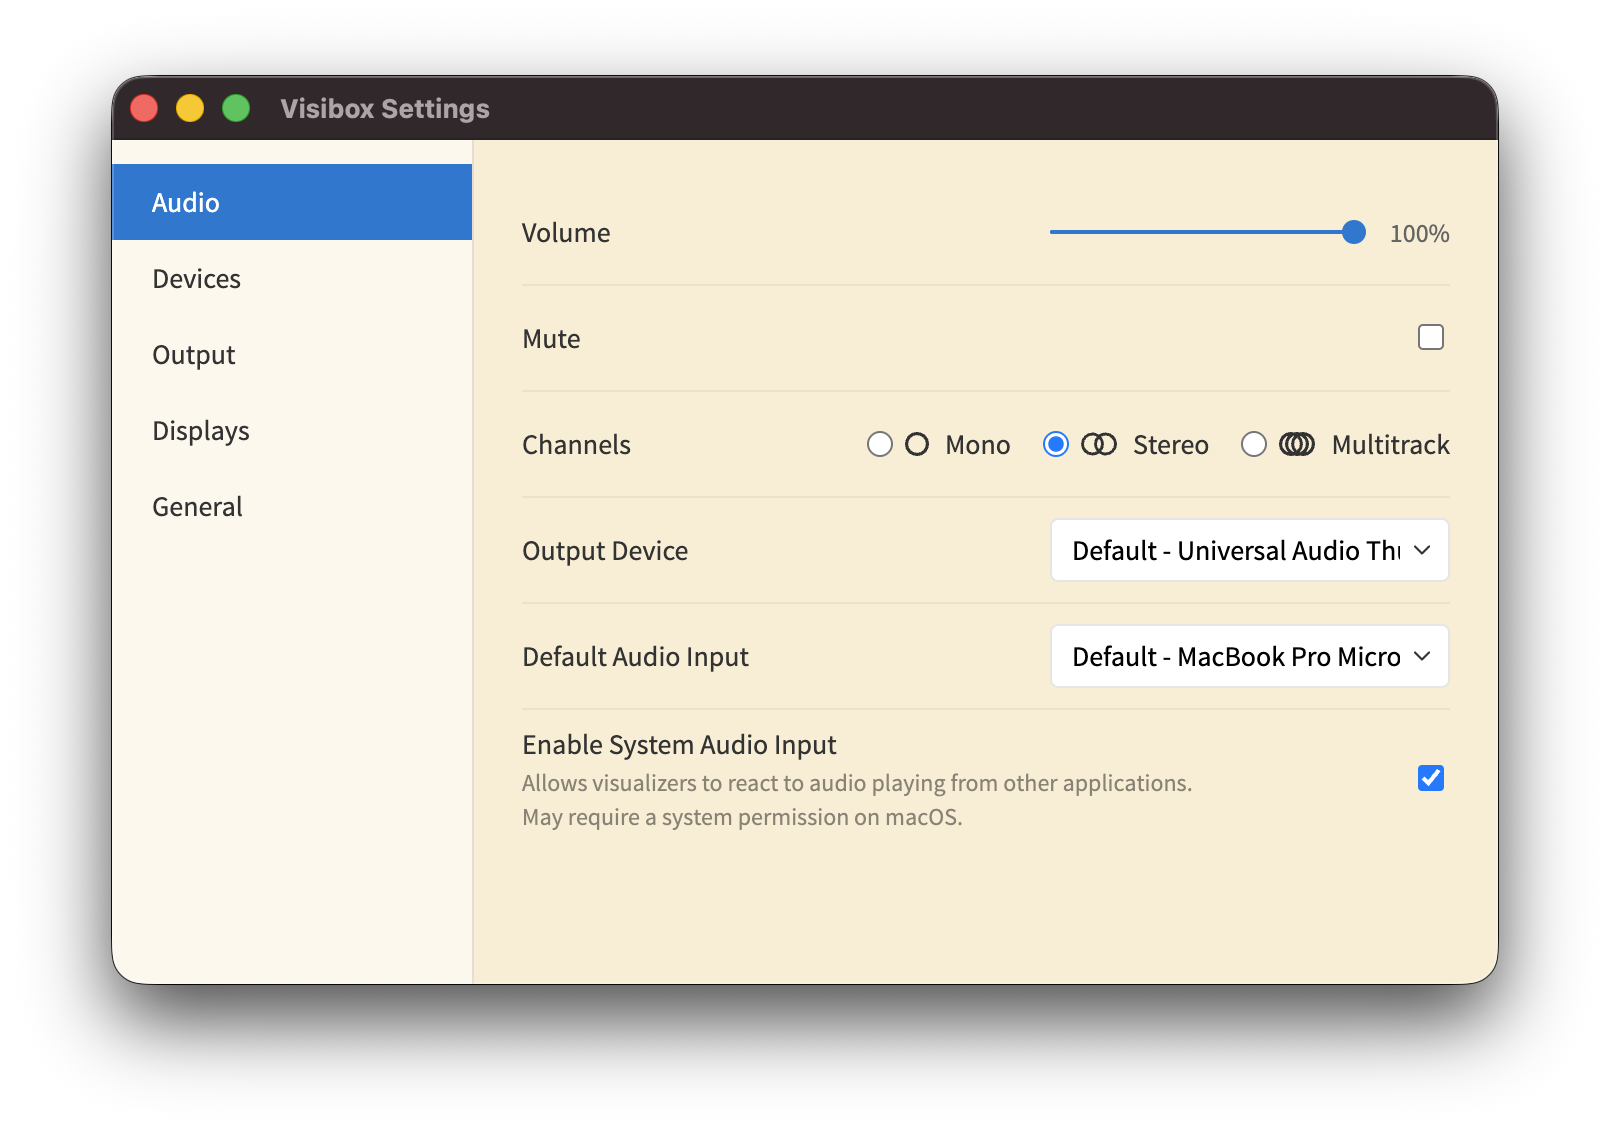
Audio
| Setting | Description |
|---|---|
| Volume | Master volume slider. Drag to adjust the output level. |
| Mute | Toggle to mute all audio output. The volume slider position is preserved while muted — moving the slider automatically unmutes. |
| Output Device | Select which audio interface Visibox uses for output. The first item defaults to your system audio output. |
| Channels | Choose the audio output mode: Mono, Stereo, or Multitrack. Multitrack routes each channel to its corresponding output on your audio interface. |
| Default Audio Input | Select the default audio input device for Visualizer and Effect audio reactivity. |
| System Audio Input | When enabled, Visualizers and audio-reactive Effects can react to audio playing from other applications on your computer, not just audio within Visibox. On macOS 14.2+, this requires granting a system permission. |
If you have an external audio interface for performance, set Visibox to use that interface while leaving the system output on the internal speakers. This way, system notifications and alerts do not reach your audience.
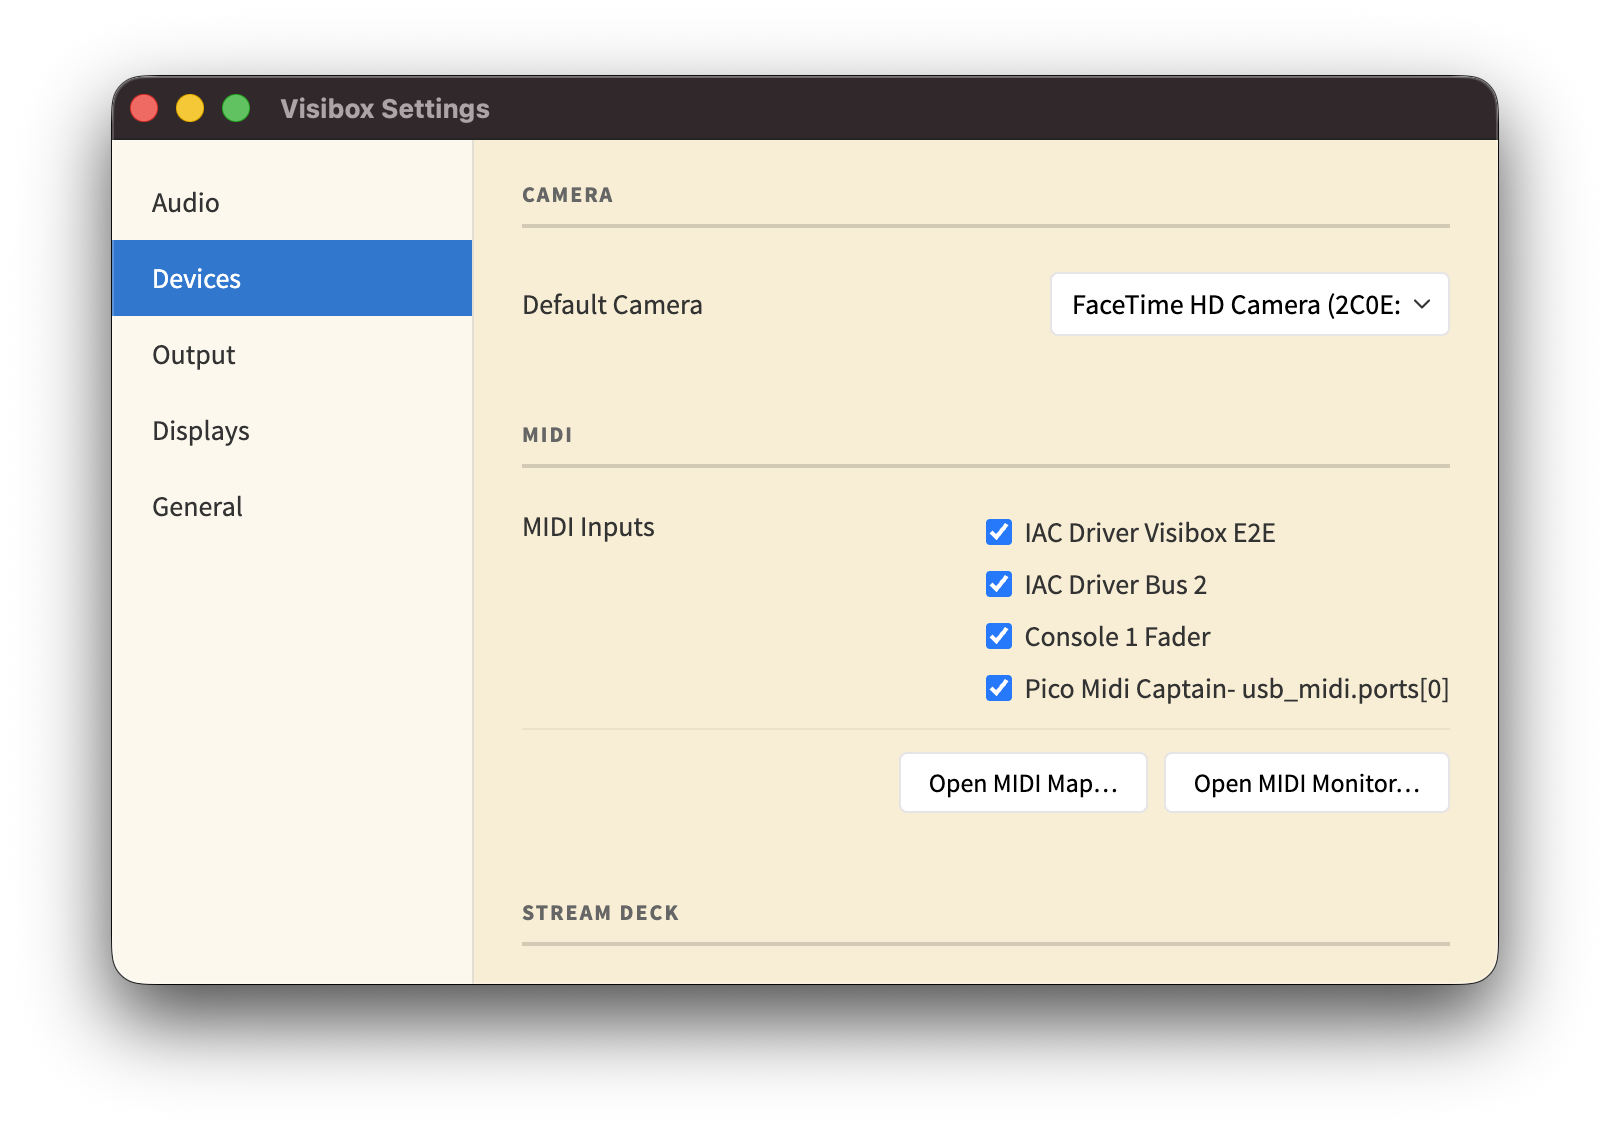
Devices
| Setting | Description |
|---|---|
| Default Camera | Select which camera or video input to use for new Camera Clips. All connected USB cameras and HDMI capture adapters are listed. |
| MIDI Inputs | Check the MIDI devices you want Visibox to listen to. New devices are enabled by default. |
| Open MIDI Map | Opens the MIDI Map window for configuring note and CC assignments. |
| Open MIDI Monitor | Opens the MIDI Monitor for troubleshooting MIDI connections. |
| Stream Deck Mode | Choose how Visibox interacts with Stream Deck hardware. See below. |
Stream Deck Mode
Two modes are available:
| Mode | Description |
|---|---|
| Stream Deck Plugin | Uses the official Visibox plugin within Elgato’s Stream Deck software. This is the recommended mode — it lets you mix Visibox actions with actions from other apps on the same Stream Deck. |
| Built-in (Legacy) | Visibox takes over the Stream Deck directly via USB, without the Elgato software. This is the original behavior from earlier versions. |
When Stream Deck Plugin mode is selected, an Install Stream Deck Plugin button appears to install the plugin into Elgato’s software.
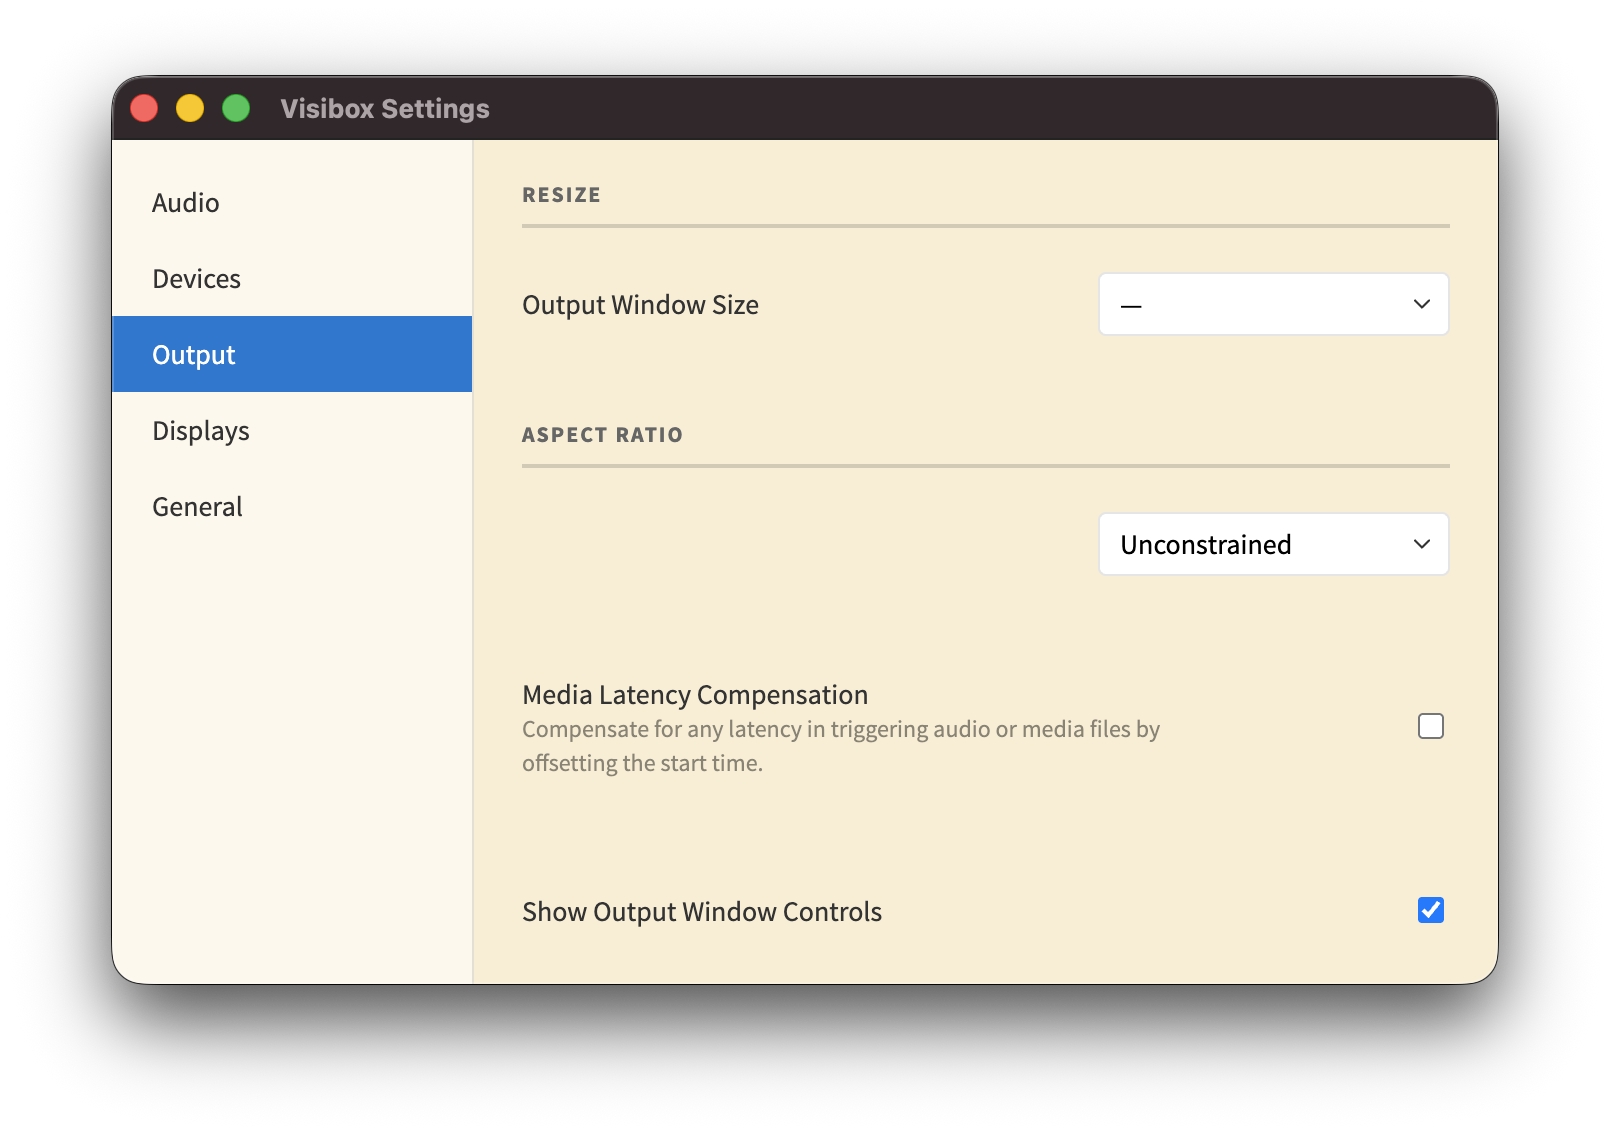
Output
| Setting | Description |
|---|---|
| Output Window Size | Choose from preset sizes (VGA through 8K) or enter a custom width and height. This sets the resolution of the Output Window when not in fullscreen. |
| Aspect Ratio | Constrain the Output Window to a specific aspect ratio: Unconstrained, 1:1, 4:3, 16:9, 16:10, or a custom ratio. |
| Media Latency Compensation | When enabled, triggered Clips skip ahead to land on the trigger moment instead of starting from frame zero when the player is ready. See Media Latency Compensation below for the trade-off. |
| Show Output Window Controls | When enabled, the Output Window displays on-screen controls for quick access during setup. |
Media Latency Compensation
Triggering a Clip isn’t instant. When a trigger arrives — a MIDI note, a Stream Deck button, an API call — Visibox hands it to the Clip’s player, which may need to load data before it can render the first frame and emit the first audio sample. On cached Clips this delay is tiny. On uncached ones it can be long enough to feel “loose” against a beat.
Visibox caches every Clip in the active Song and in the next consecutive Song automatically, so during a show the vast majority of triggers hit an already-loaded player. Media Latency Compensation is the setting for what should happen with the remaining cases — or for anyone who wants to push timing tighter.
Off (default) — Triggered Clips start from the very beginning. If the player took 80 ms to become ready, playback starts 80 ms after the trigger. You hear every frame and every sample, but the Clip lands slightly late.
On — Visibox measures how long the player took to become ready and starts playback at that offset into the Clip. The Clip lands in sync with the trigger, but the first few milliseconds of content are skipped. The chop is usually imperceptible on steady content, but it can cut the transient of a percussive audio track — which may matter if that’s the reason you were triggering the Clip on the beat in the first place.
The right choice depends on the priority: complete playback from frame zero (off) or tight sync between the trigger and what the audience hears (on).
Sync to Song Position Clips always apply latency compensation internally so that video stays locked to the Song timeline. This setting only affects non-sync triggered Clips.
Displays
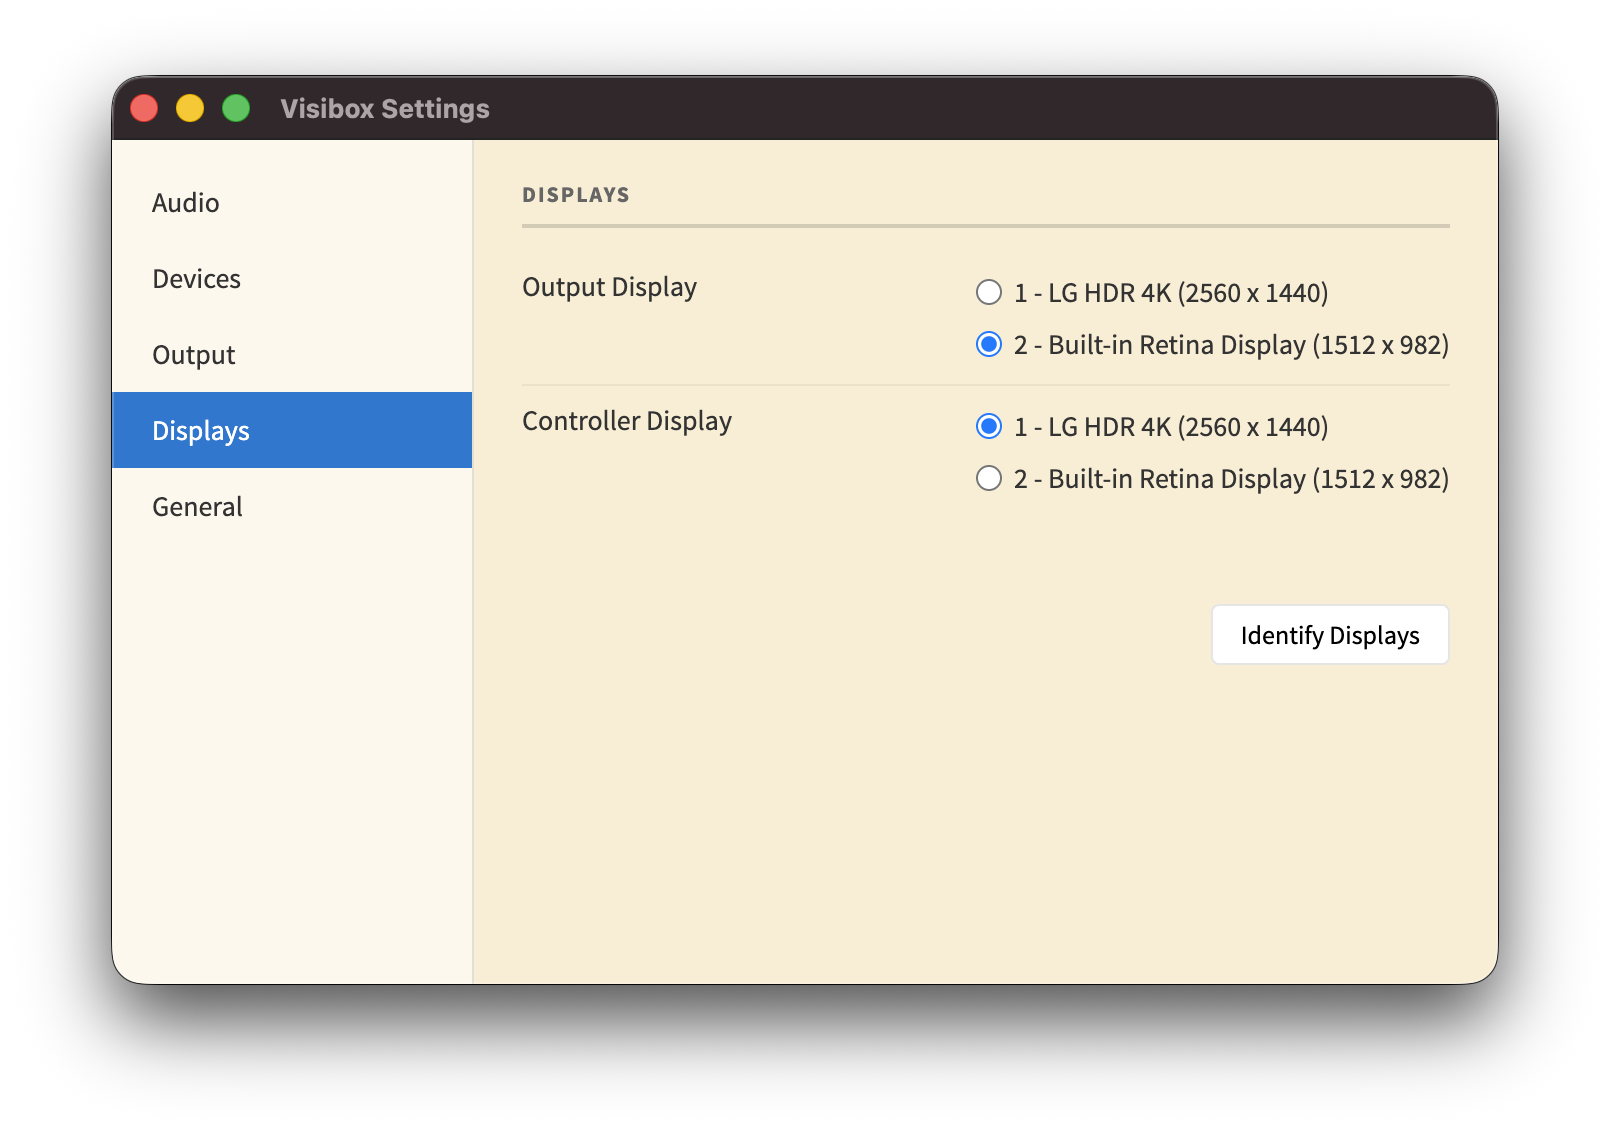
Configure which physical display shows the Output Window and which shows the Controller Window. This section is primarily useful when you have more than one display connected.
When multiple displays are detected, you can assign which display shows the Output and which shows the Controller. Use the Identify Displays button to flash a number on each connected display so you know which is which.
General

| Setting | Description |
|---|---|
| Language | Choose the language for Visibox’s interface. Available languages: English, Spanish, French, Italian, German, Japanese, and Korean. |
| Launch at Login | Start Visibox automatically when you log in to your computer. |
| Launch Full Screen | Start Visibox in fullscreen mode. Useful for dedicated performance machines. |
| Control Bar | Show or hide the Control Bar at the top of the Controller Window. |
| 12-Hour Time | Display the clock in 12-hour format instead of 24-hour. |
| Show Seconds | Display seconds in the clock readout. |
| Simple Titles for New Songs | New Songs are named “New Song” instead of a random space-themed name. |
| Enable Beta Features | Unlock experimental features that are still in development. |
To pair remote devices or connect AI tools, use the dedicated Remote Pairing window (Window > Remote Pairing).